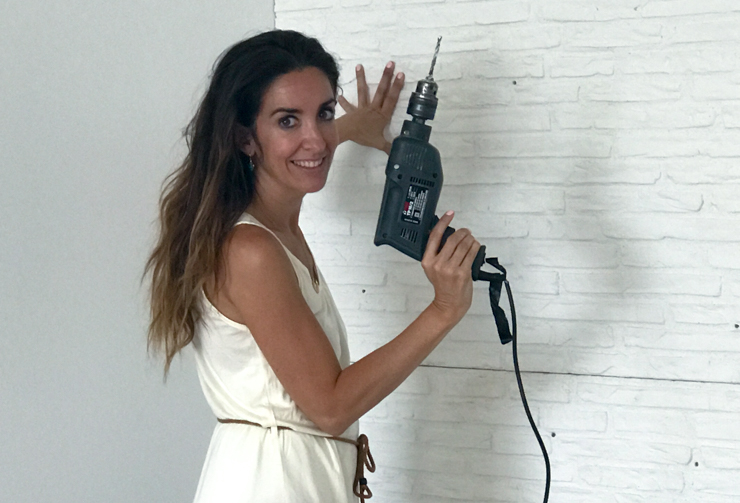
Me encantaría colgar el cartel de cerrado por vacaciones pero este trabajo, aunque me permita unos días de descanso, tiene pocas horas de vacaciones. Estos días de verano hemos aprovechado para hacer reformas en la casa nueva. Una de las cosas que más ilusión me hacía desde hace años era tener una pared de ladrillo blanco ¿Pero cómo? ¿Qué productos podría encontrar así en el mercado? ¿Necesitaría contratar a alguien para instalarla? Leroy Merlin me dio la respuesta. Encontré en su web estos paneles de poliuretano aislante y decorativos con acabado imitación ladrillo viejo en color blanco, válido tanto para interior como exterior. Ligero y de fácil colocación. Os he hecho un vídeo explicativo que podéis ver más abajo. Seguid leyendo para descubrirlo.
Primero, os preguntaréis cuántas personas hacen falta para colocar un panel así. Yo había visto tutoriales en Youtube con un solo montador. Nosotros fuimos dos, aunque también participaron más personas ayudándonos en la pintura final porque estábamos preparando las maletas de las vacaciones. Dos personas es definitivamente lo que yo recomiendo. Veréis por qué.
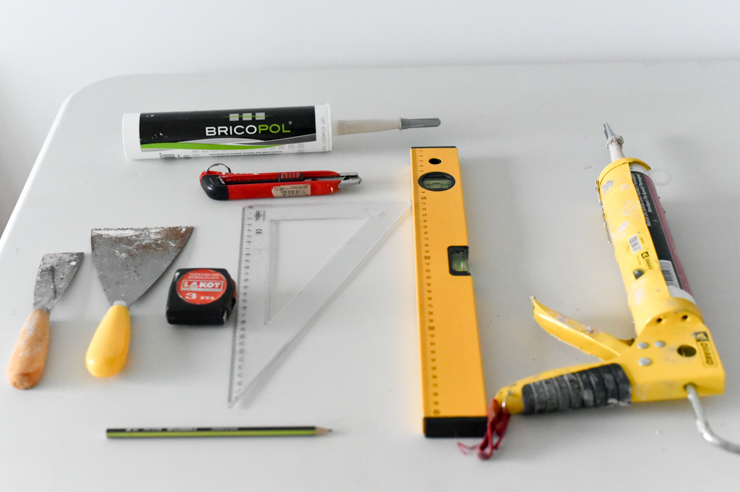
Primero tenéis que calcular el número de metros de vuestra pared. Cada caja trae 1,10 m2 que se encajan perfectamente. Venían unos tres paneles por caja. A nosotros nos hicieron falta 5 cajas y sobró material, es inevitable porque tenéis que encajar los paneles en las esquinas y para ello cortarlos. Ese es el primer paso. Con un lápiz o rotulador trazar una línea y cortar el panel recto para encajar en la esquina de la pared. Aquí necesitaréis una sierra de calar como os muestro en el vídeo. Tened cuidado al cortarlo que no se os rompa. De cualquier manera luego vais a poder reparar los ladrillos pegándolos y pintándolo si se os rompiera alguno, así que no os preocupéis pero sed cuidadosas.
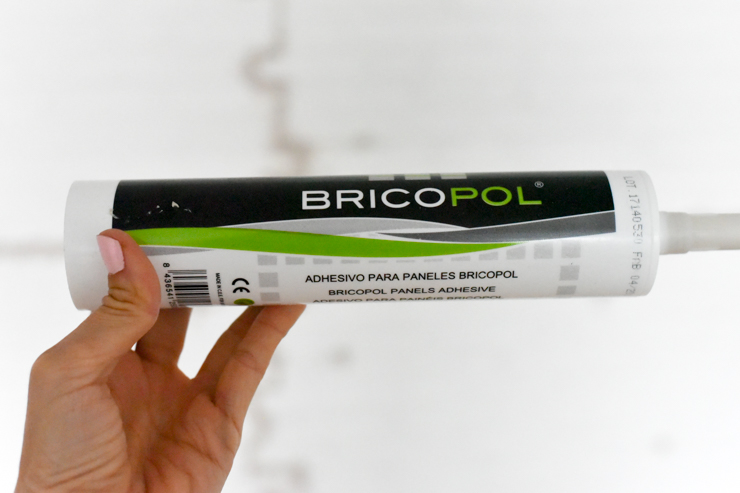
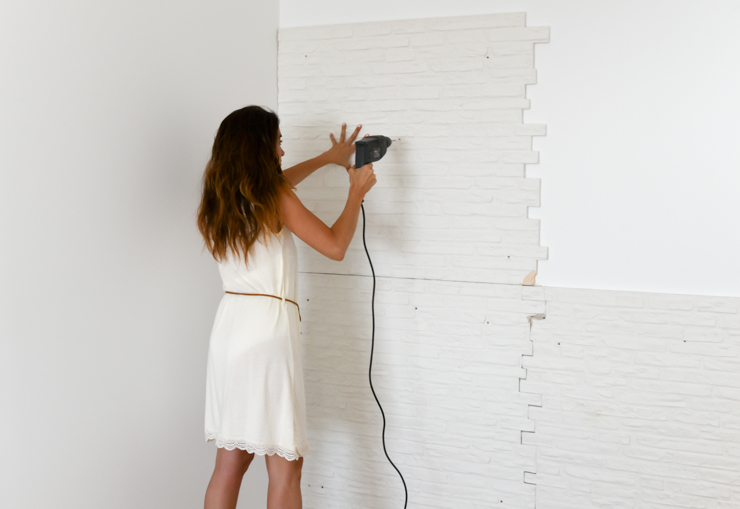
El siguiente paso es aplicar el adhesivo que os muestro en el vídeo. Para ello debéis haceros con una pistola, ya que es mucho más fácil de repartir así. Colocáis el panel con el adhesivo en la pared y empujáis para que se fije bien. Nosotros preferimos taladrar le panel y la pared para colocar tornillos de sujeción.
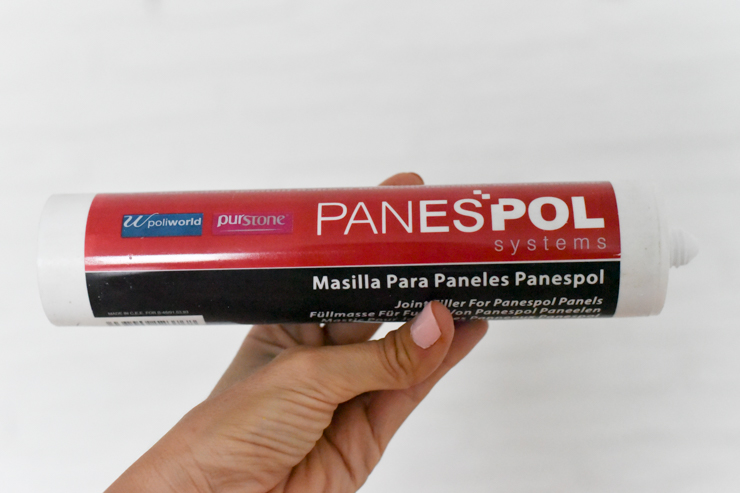
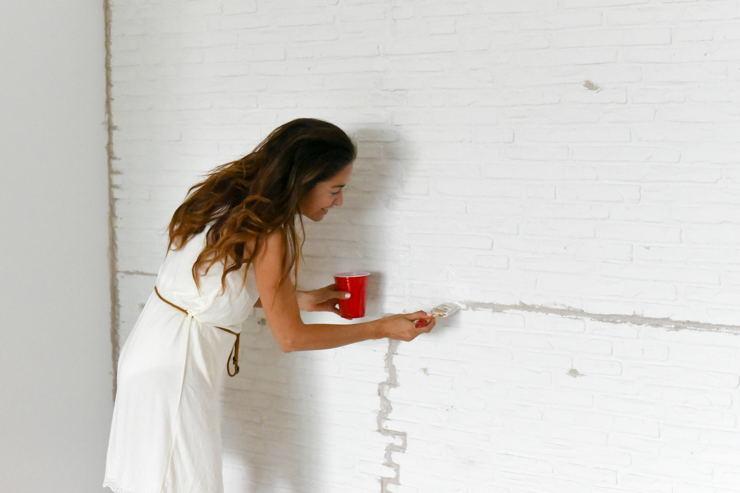
Antes de colocar el segundo panel podéis rellenar con masilla el perímetro o colocar y rellenar encima. La masilla os recomiendo la busquéis de un color similar al panel que vais a colocar. Por ejemplo, nuestros ladrillos eran blancos y la masilla marrón. Así que luego tuvimos que dar encima un par de manos de pintura blanca para que no se diferenciara la junta.
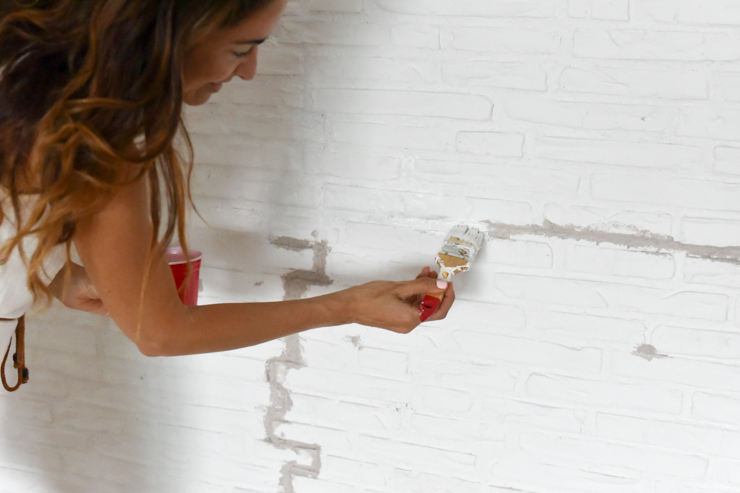
El encaje entre paneles se hace de forma sencilla y si habéis puesto masilla debéis apretar hasta que se desborde. Luego ya taparéis con más masilla estas juntas y los tornillos que sujetan los ladrillos a la pared.
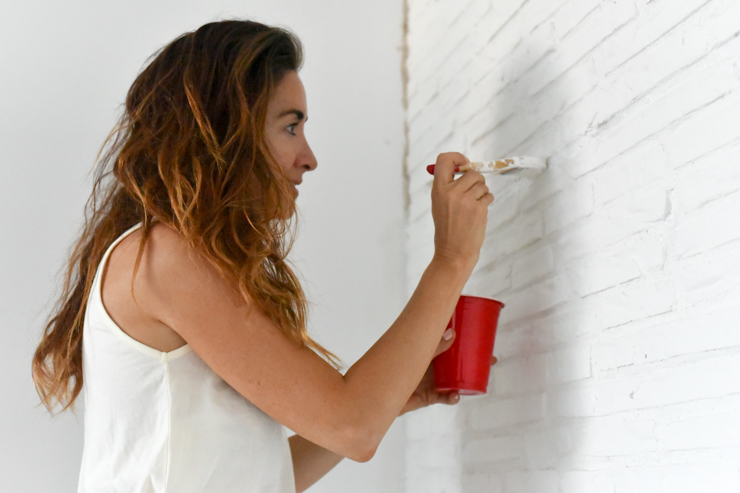
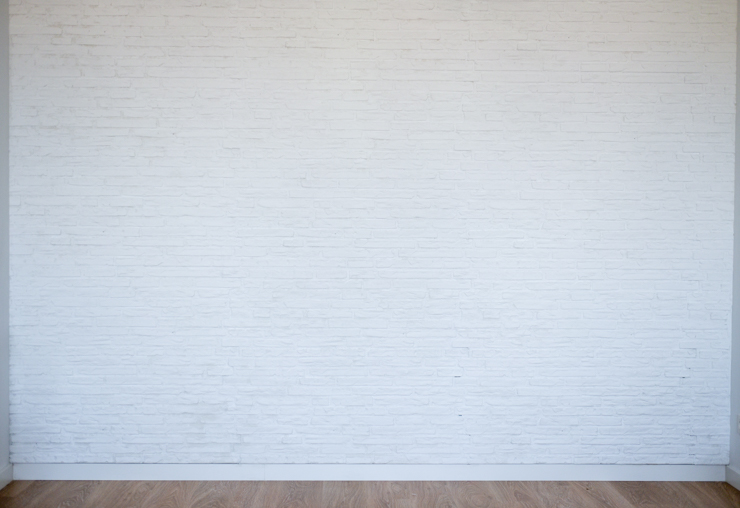
Para retocar imperfecciones y juntas utilizamos pintura de la misma marca de los paneles decorativos: Bricopol, pero no tuvimos suficiente y al final decidimos comprar pintura blanca y dar una mamo a toda la pared para asegurarnos que se veía de un único tono. Ha quedado genial. Frente a ella pondremos un aparador y la mesa central del comedor. Nos encanta. Ha sido mucho más fácil de lo que nos pensábamos y lo hemos pasado muy bien haciéndolo. ¿Quién iba a decirnos que éramos tan manitas?
VACATION MEANS REFORMATIONS WITH LEROY MERLIN
I would love to hang the closed sign for the holidays but this work, although it allows me a few days of rest, has few hours for vacation. These summer days we have taken advantage of the time to make reforms in the new house. One of the things that I was most excited about was having a white brick wall. But how? What products could you find in the market? Would you need to hire someone to install it? Leroy Merlin gave me the answer. I found in their web these insulation and decorative polyurethane panels with imitation old brick finish in white, valid for both interior and exterior. Light and easy to place. I’ve made an explanatory video that you can see below. Keep reading to find out more.
First, you will ask how many people are needed to place such a panel. I had watched tutorials on YouTube with a single editor. We were two, but more people also participated in helping us with the final painting because we were preparing the bags for our vacation. Two people is definitely what I recommend. You will see why.
First you have to calculate the number of meters of your wall. Each box comes with 1.10 m2 that will fit perfectly. There were about three panels per box. We needed 5 boxes and there was enough material, it is inevitable because you have to fit the panels in the corners and cut them. This is the first step. Using a pencil or marker to draw a line and cut the straight panel to fit the corner of the wall. Here you will need a jigsaw as I show you in the video. Be careful when cutting it that it will not break. Anyway, you would be able to repair the bricks by sticking and painting if any were broken, so do not worry but be careful.
The next step is to apply the adhesive that I show you in the video. For this you must use a pistol, as it is much easier to distribute as well. Place the panel with the adhesive on the wall and push it to secure it. We prefer to drill the panel and fasten it to the wall with screws.
Before placing the second panel you can fill the perimeter with the putty or place it and fill it over. For the putty, I recommend you look for a color similar to the panel you are going to use. For example, our bricks were white and the putty brown. So then we had to put a layer of white paint over it so that there was not a difference in color.
The fit between panels is made simple and if you have put putty you must tighten until it overflows. Then you will cover these joints and the screws with more putty that hold the bricks to the wall.
To touch up imperfections and joints we used paint from the same brand of decorative panels: Bricopol, but we did not have enough and in the end we decided to buy white paint and give a full-face to the wall to make sure it was a single tone. It’s been great. In front of it we will put a dresser and the central table of the dining room. We love it. It was much easier than we thought and we had a great time doing it. Who knew were were so handy?
Decoración, Mamás blogueras, Review de productos